Create a jack o'lantern with us
Not every pumpkin is the same
You probably noticed the different colors and sizes of pumpkins. But that's not the only thing that sets pumpkins apart. There are more than 100 varieties of pumpkin.
We know pumpkins that make excellent soup or the ones that are suitable for baking. And then there are those that grow to mega-size and really work as ornaments. Twisted pumpkins of different colors and color combinations stand out in an autumn arrangement.
For pumpkin lanterns, we choose pumpkins intended for this purpose. They are orange pumpkins, the pulp of which is easy to remove. They have a firm skin that does not crack and can therefore be easily processed. Choose the shape of the pumpkin that you like. It doesn't have to be perfect, because it is the atypical ones that make the most interesting lanterns.

The procedure for carving a pumpkin
If you've ever done it before, you know it's not as easy as it looks. But you can do it, and with your help, your children can do it too. Be especially careful when carving the shapes into the pumpkin itself.
1. we select an appropriate pumpkin
- it should not be too soft, because it will rot quickly
- it should have a softer skin so that it can be cut more easily
- the pumpkin should have a flat bottom to stand properly on the ground
2. open the pumpkin
- in order for the pumpkin to last longer, it is recommended to leave the top part with the stem intact and make the opening from the side or the back
- however, if you are used to opening the pumpkin through the top, then we cut around the stem a circle that our hand can fit comfortably through it
- we remove this part and thus get to the pulp
3. gut the pumpkin
- Remove the pulp with hands or a spoon
- if we have chosen the right pumpkin, the pulp will be more fibrous and easier to work with
- we leave only walls with a thickness of 1.5 to 2 cm
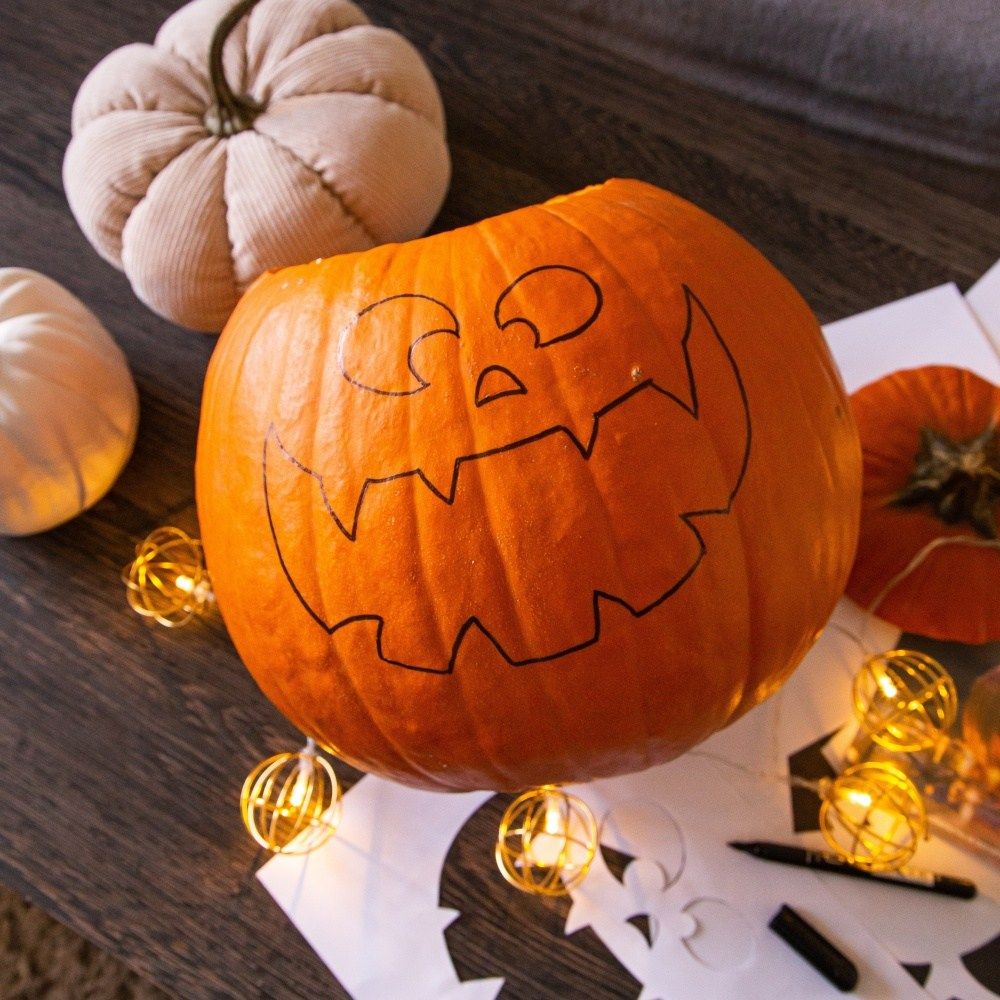
4. pumpkin carving
- draw a pattern on the pumpkin that you want to carve
- You can use a template or draw according to your own imagination
- cut the holes with a suitable tool
5. pumpkin preserving
In order for the pumpkin to last as long as possible, we choose one of the preservation methods.
- rinse the cut pumpkin with water and let it drain
- it helps to soak it in a soda bath for 8 hours and then let it drain
- you can put silica gel in the pumpkin, which absorbs moisture and will help the cut parts and pulp to dry faster
- the inside of the pumpkin can be smeared with vaseline, it will protect the pumpkin from mold and keep enough moisture in it so that it does not dry out completely
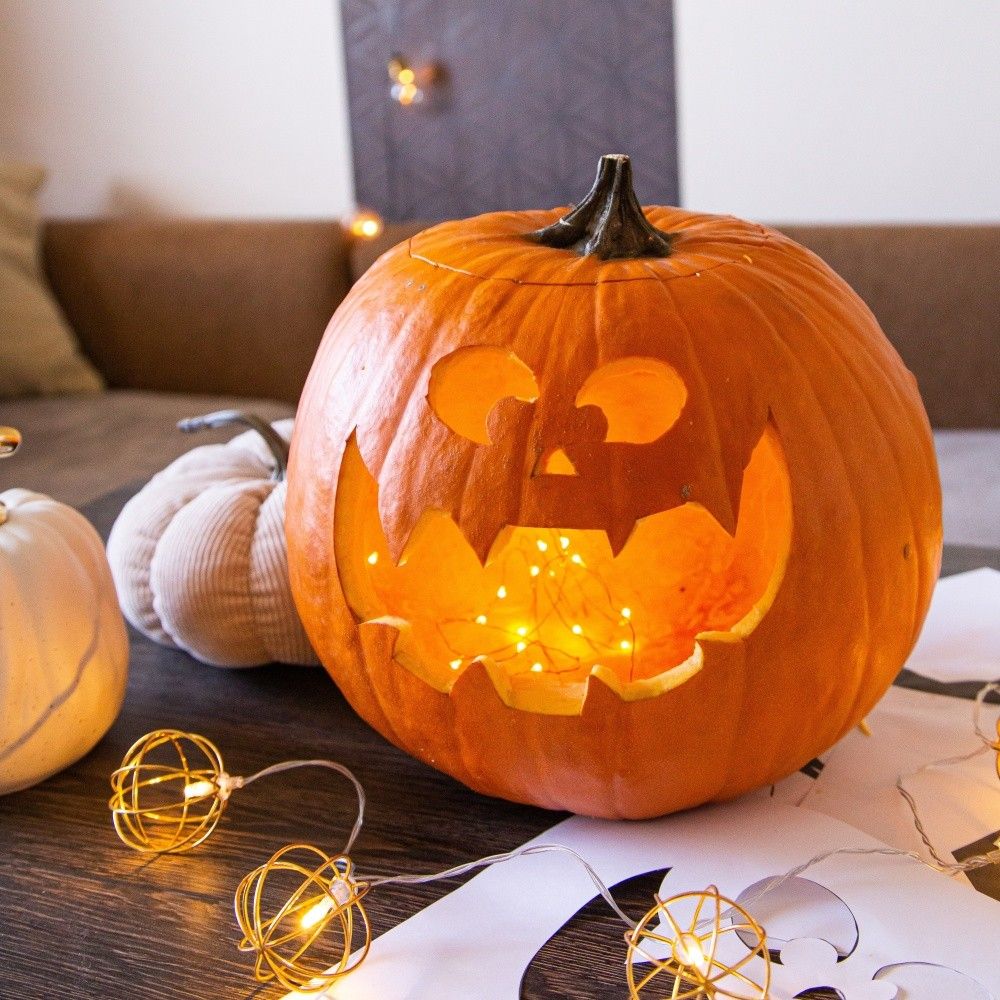
6. pumpkin lights
- instead of candles, use artificial lights that will not unnecessarily overheat and dry out the pumpkin
- you can use a light chain that you roll into the pumpkin, or an imitation of a candle

Our tips
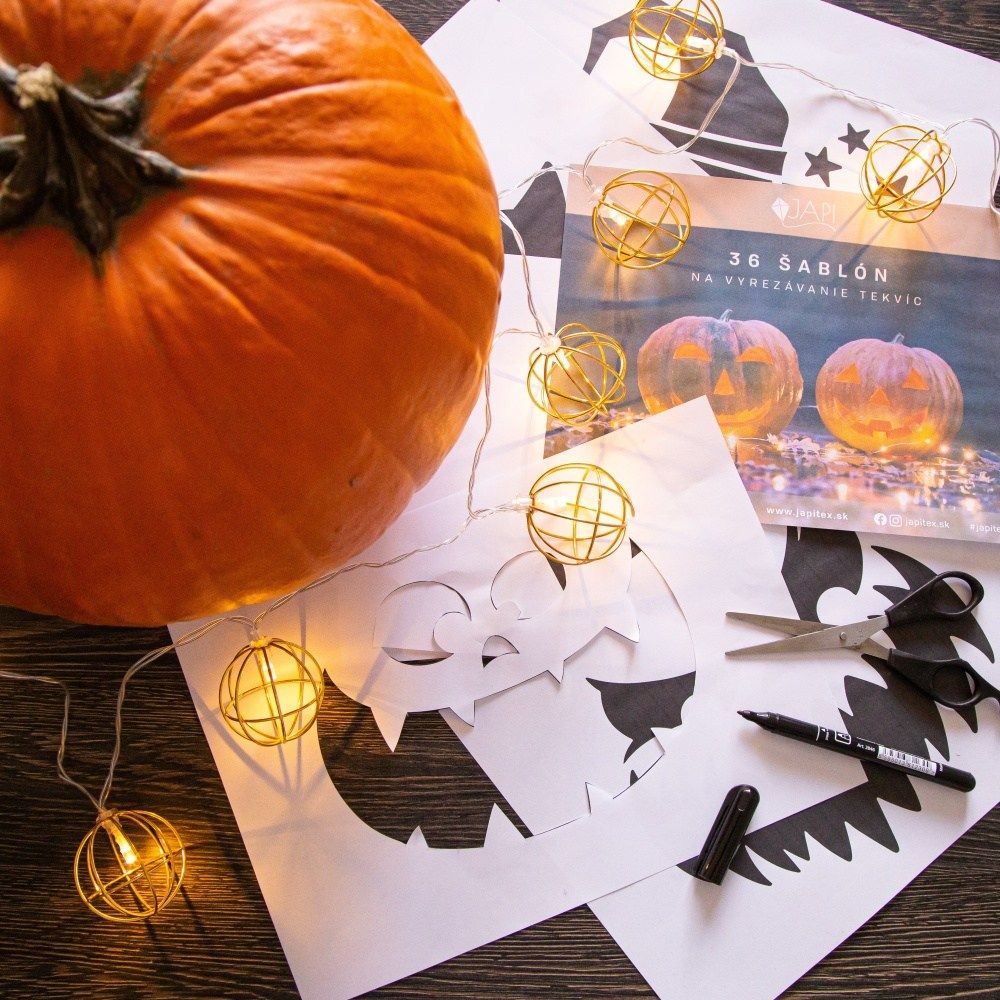
- We have prepared for you 36 different patterns that you can carve into pumpkins. Just download and print them.
- Pumpkins don't have to be used just for Halloween, and they don't have to be scary at all.
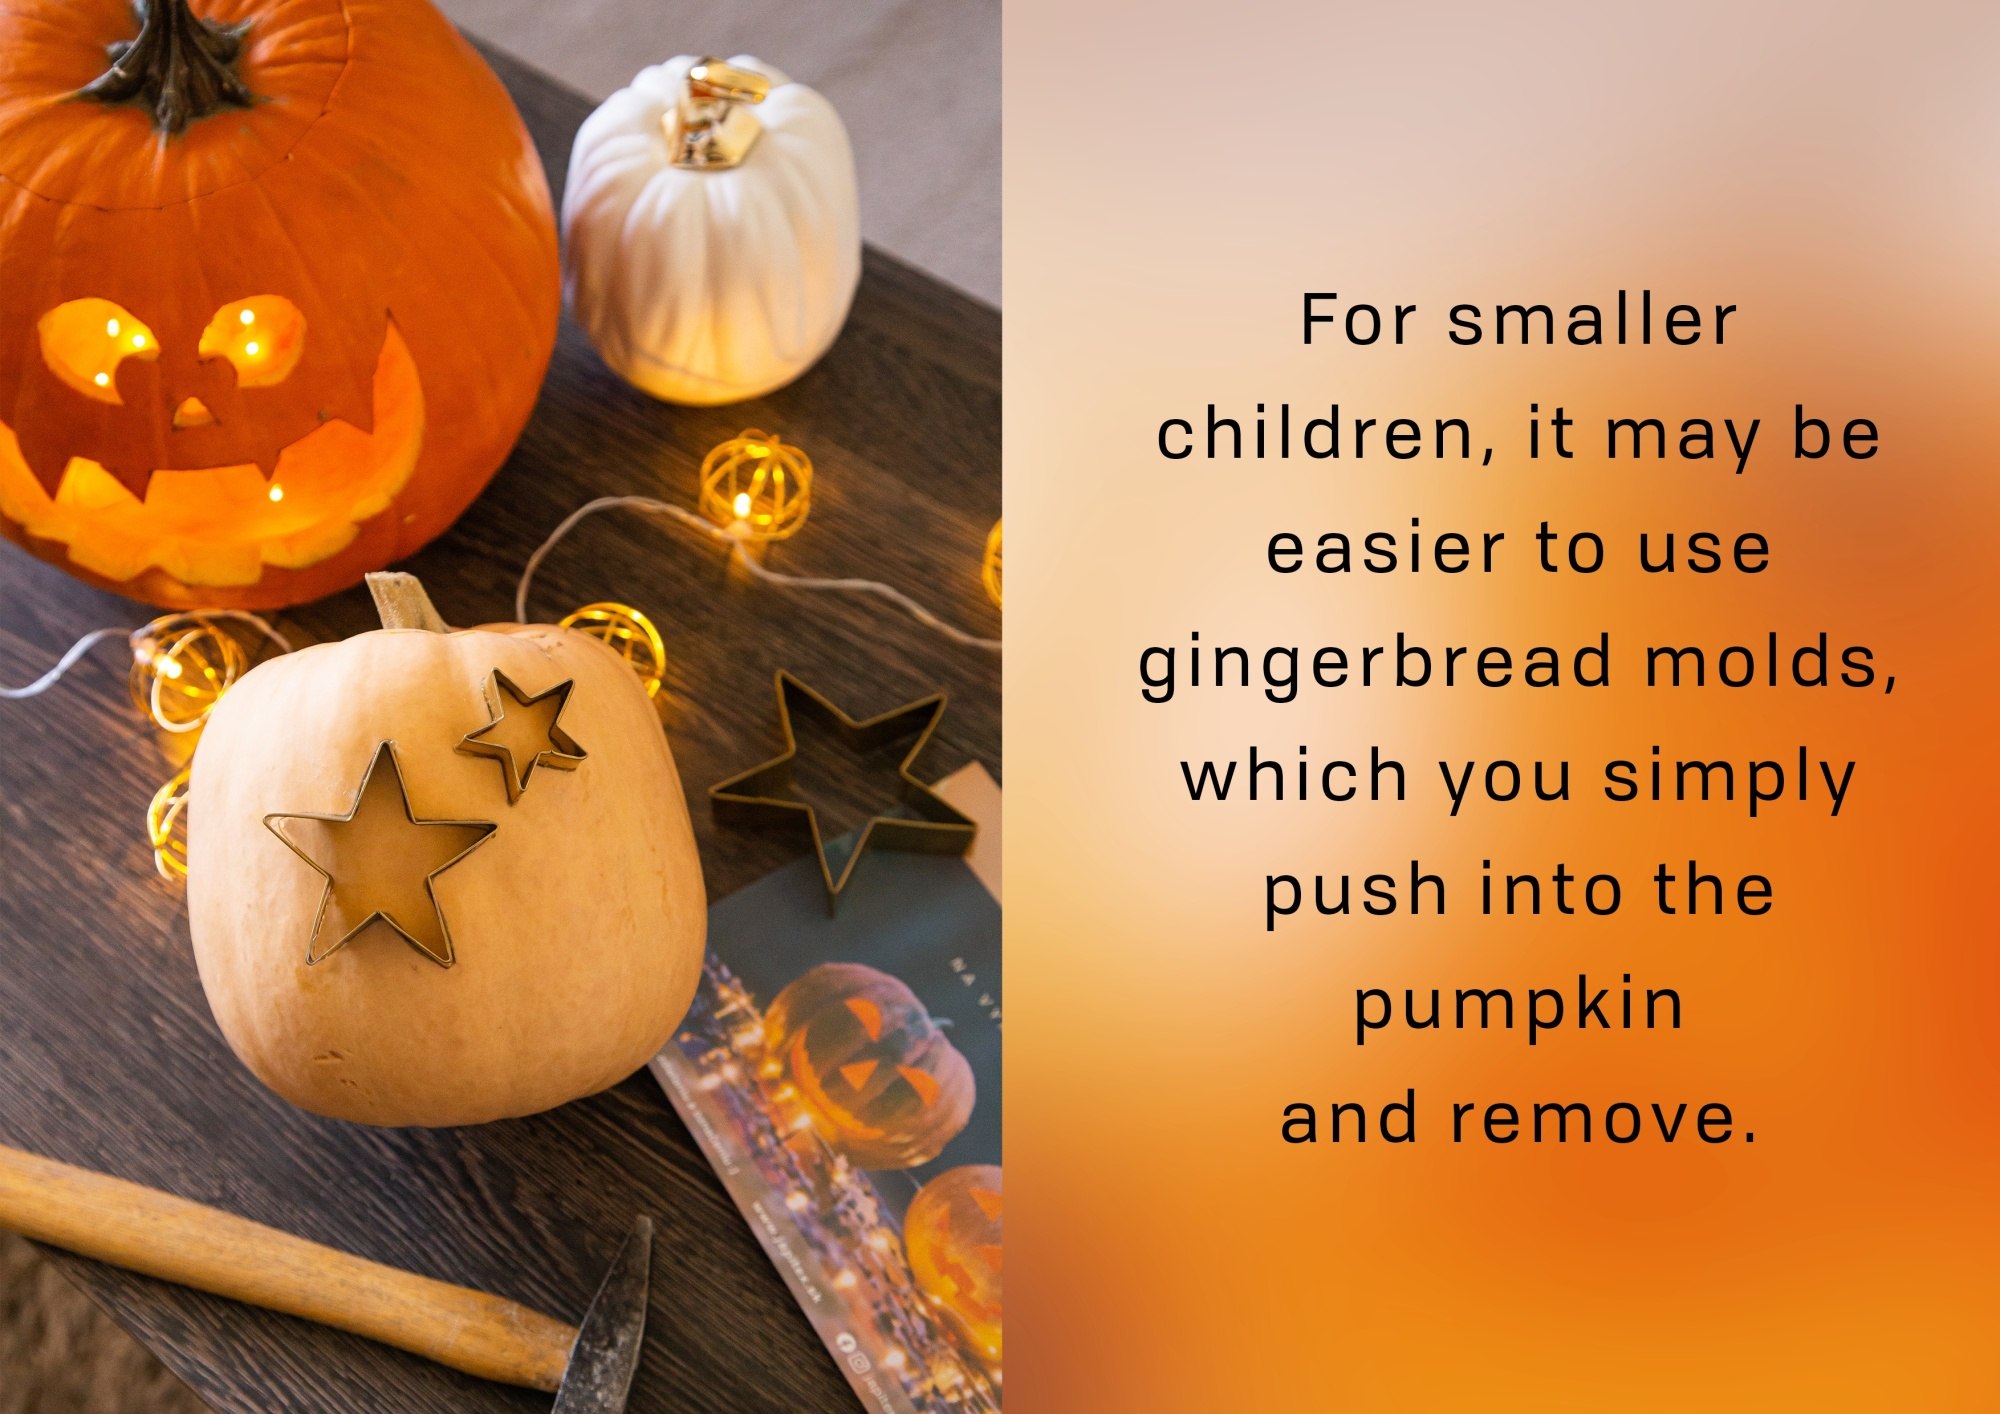
- For smaller children, it may be easier to use gingerbread molds, which you simply push into the pumpkin and remove.
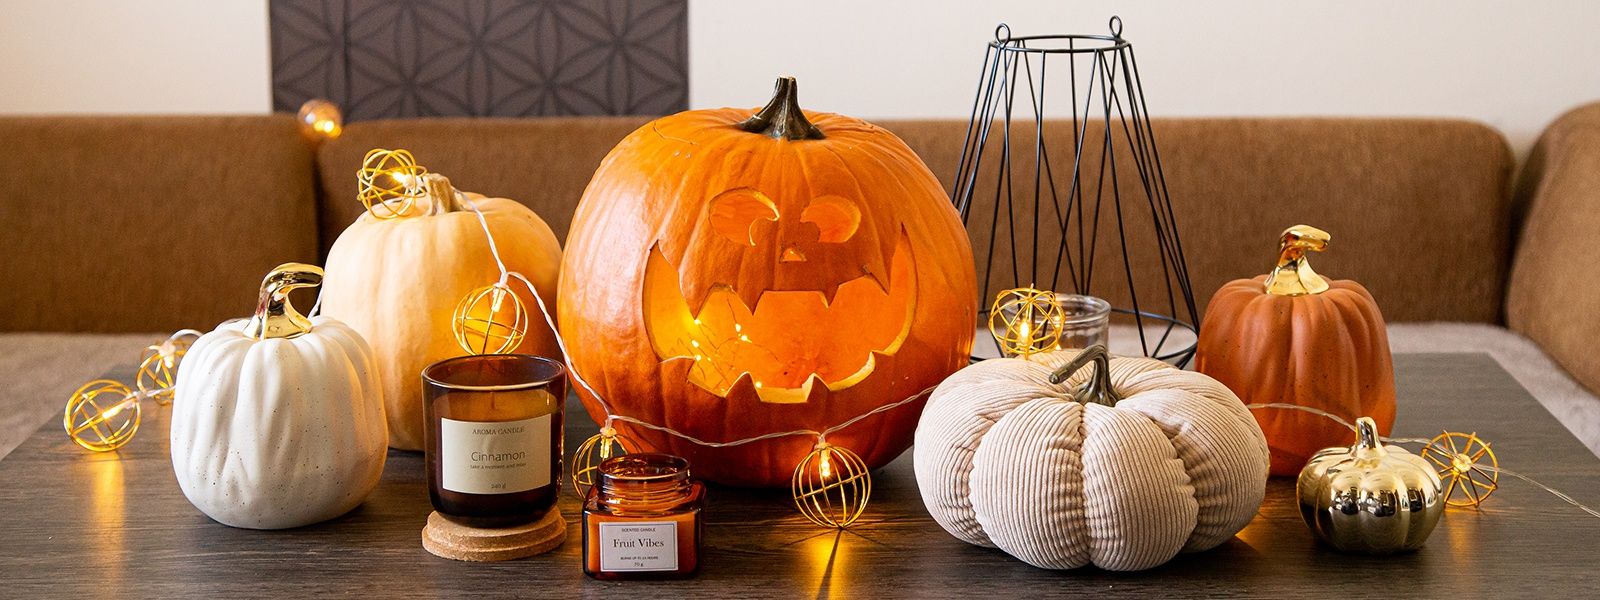
- Pumpkins of different sizes and colors stand out nicely arranged next to each other.
- If you use flashing lights for pumpkins, they will be an interesting decoration in the evening on the balcony, by the door or on the window.

You can download templates for carving pumpkins here: